Release management app has embedded functionality for environments management and mapping between versions and environments.
Also, an Environments gadget is available to visualize all environments for a version and all versions for a particular environment.
Environments management
User can manage environments on "Environments" tab in the main application menu.
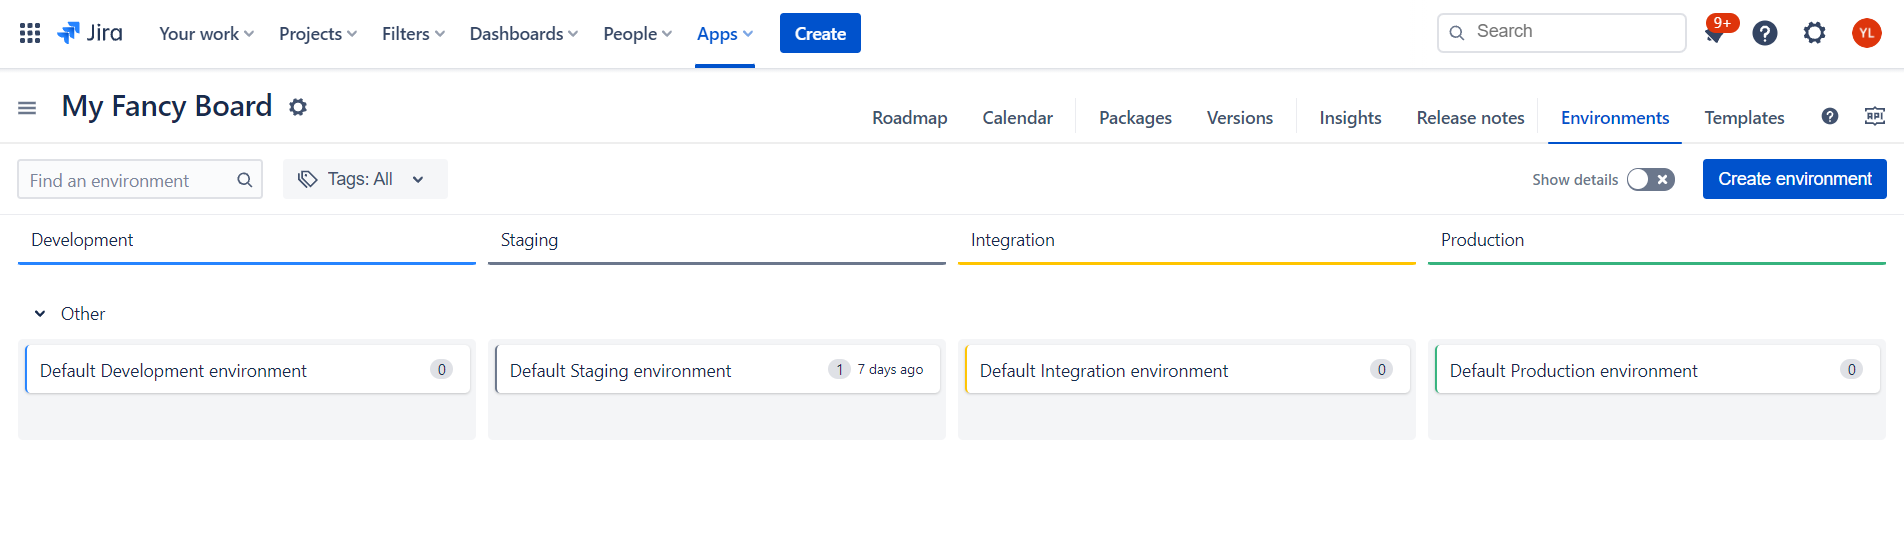
With each and every board 4 default environments - Development, Staging, Integration, Production - are created.
Create environment
New environment could be created by a click on “Create environment“ button.
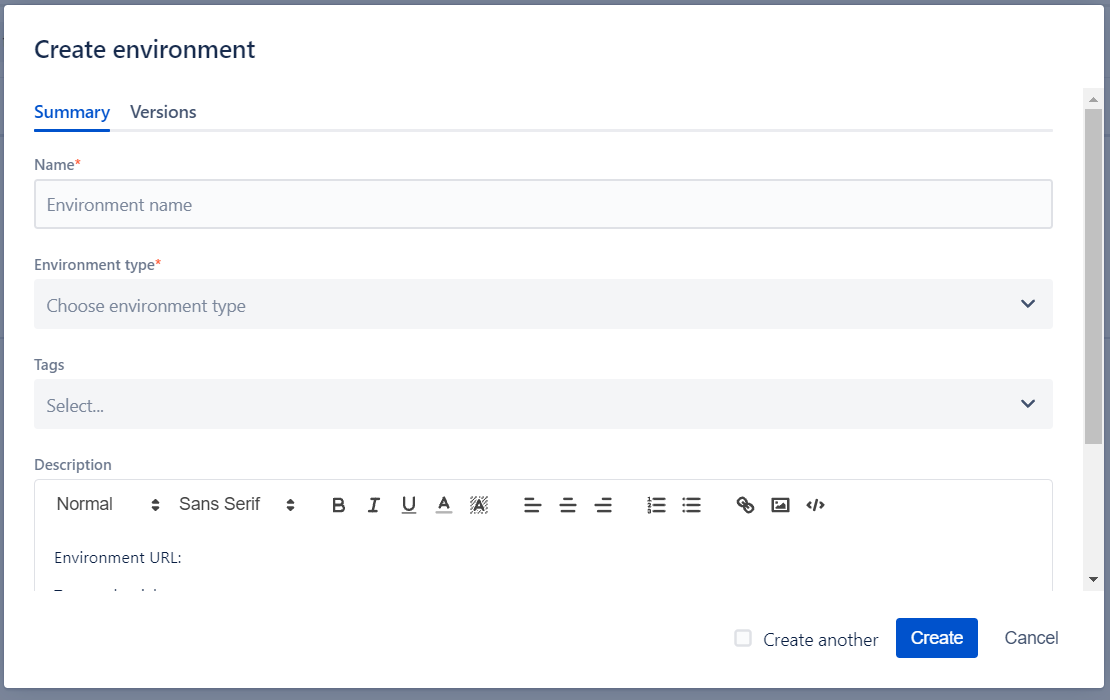
Name and Environment type are mandatory fields. Tags, Description and Versions list are optional.
By clicking “Create“ you will persist the environment with details created. You can also tick “Create another“ to create few similar environments in less clicks.
In the current version of the Release management app, Environment type is predefined and has the following options:
Development (color coded Blue)
Staging (color coded Grey)
Integration (color coded Yellow)
Production (color coded Green)
Please contact us via support channel to speed up the development of configurable Environment type list. |
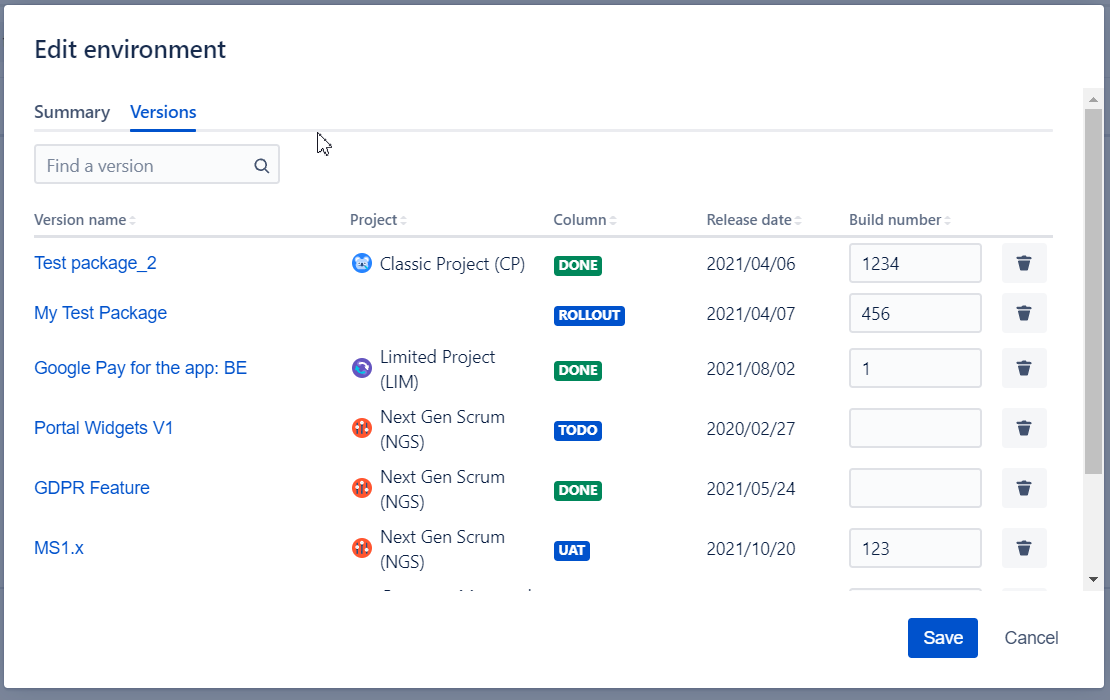
On the Versions tab, a user can specify what versions to be deployed to the environment and see already deployed versions. User can also specify Build Number of the version deployed to specific environment for better tracking.
User can search assigned versions by name.
Edit environment
User can edit environment by click at Environment name in the table:
Edit environment dialog is the same as Create environment dialog. You can read all the details in the chapter above.
Assign version to environment
User can assign a version to the environment from Edit Environment \ Version tab. See chapter above.
On the tab a user can see all already deployed versions, add new versions from all versions in the board or remove already added versions from the environment.
An alternative option is to click on the version on the board, go to “Environments Tab“ and select appropriate environment:
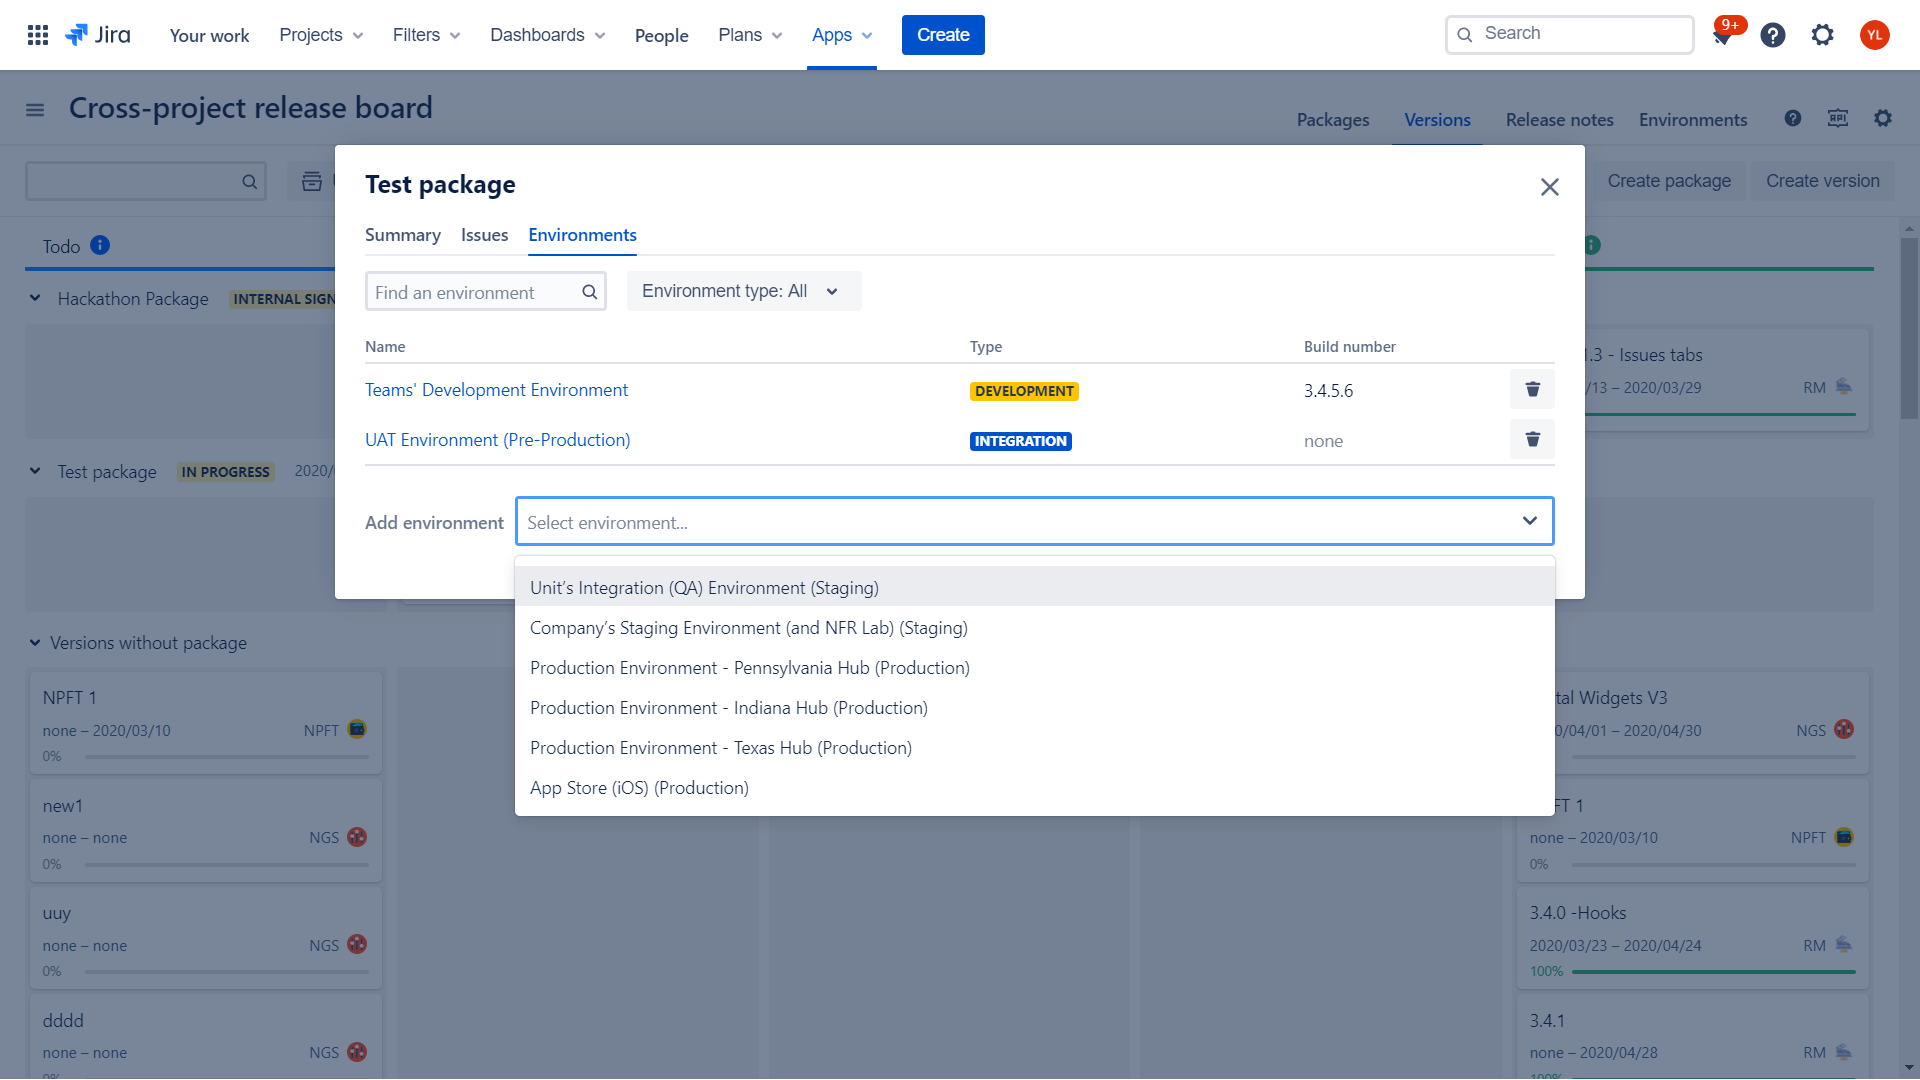
The user can see all environments where the version is deployed, remove the version from the environment or add the version to any available environment in the board.
Tags for environments
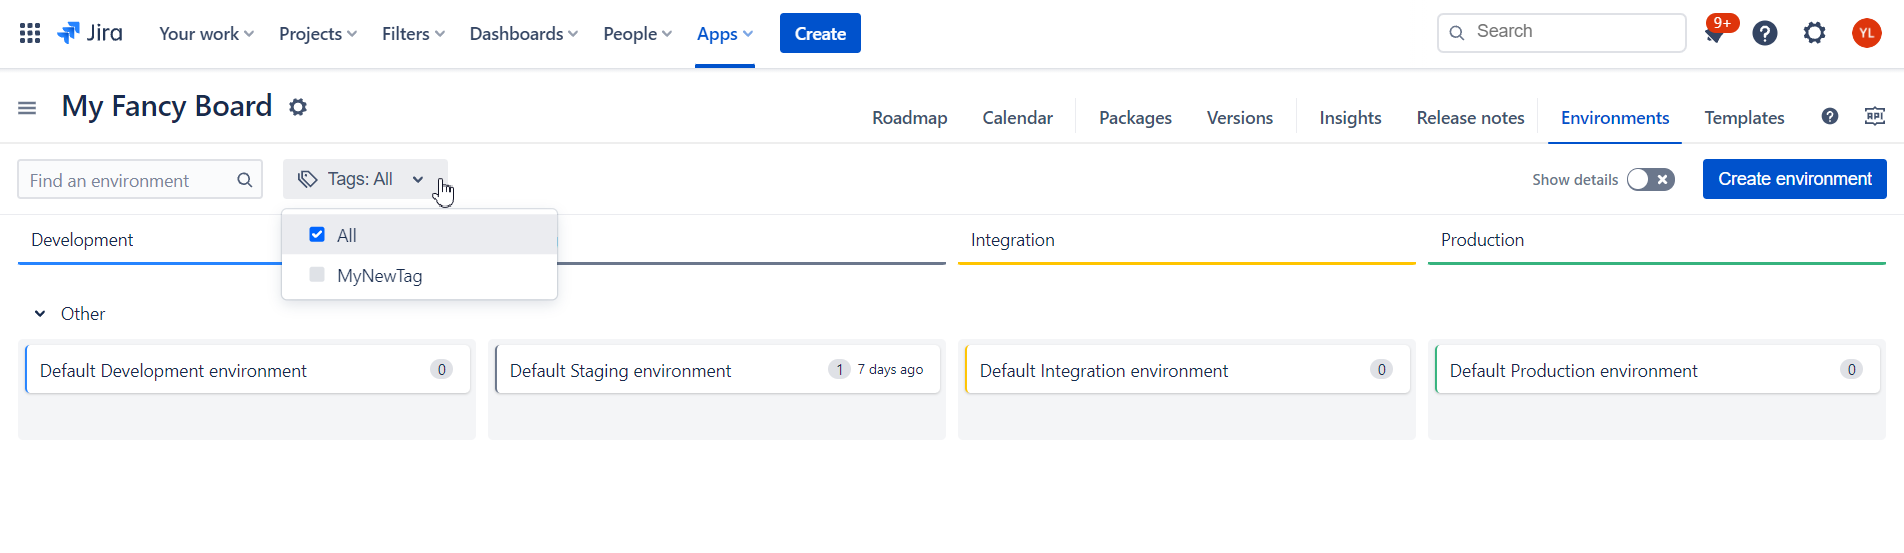
You can assign one or multiple tags for the environments. This is a nice features to create alternative taxonomy for your environments. E.g. group them by geo location, types of configurations from B2B clients or product sets.
On the main screen you can filter your environments by Tags.
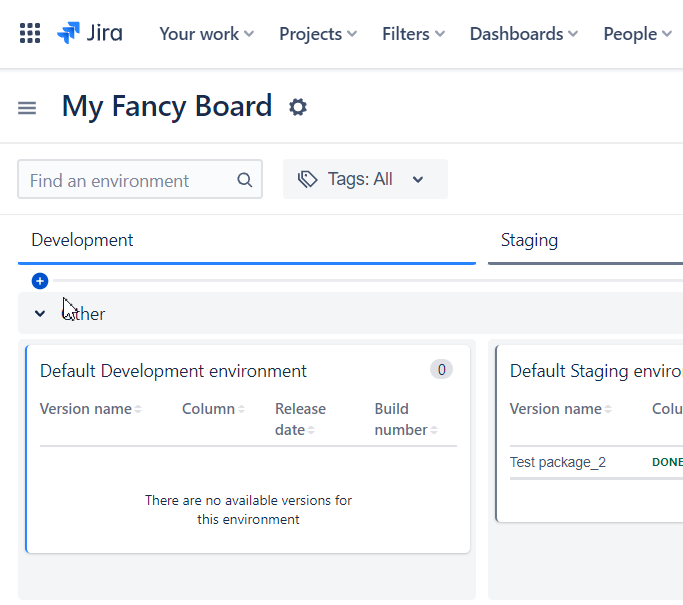
Swimlanes by Tags
By default all Environments are grouped under “Other“ swimlane. To add new swimlane put a month over “Other“ swimlane to show a “+” icon for more swimlanes.
Once you click on it “Create group“ dialog will pop up.
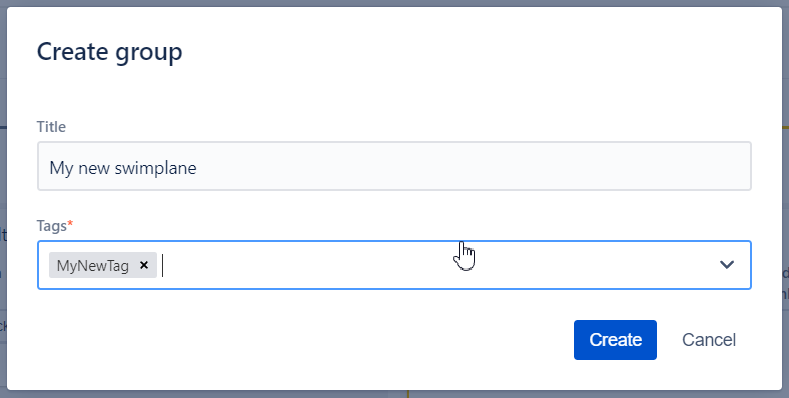
Put a name for your swimlane plus one or multiple Tags associated. If multiple Tags are selected “AND“ rule will be applied.
Upon “Create“ new swimlane will be created and all the Environments that matching the Tags selected will be shown on this swimlane
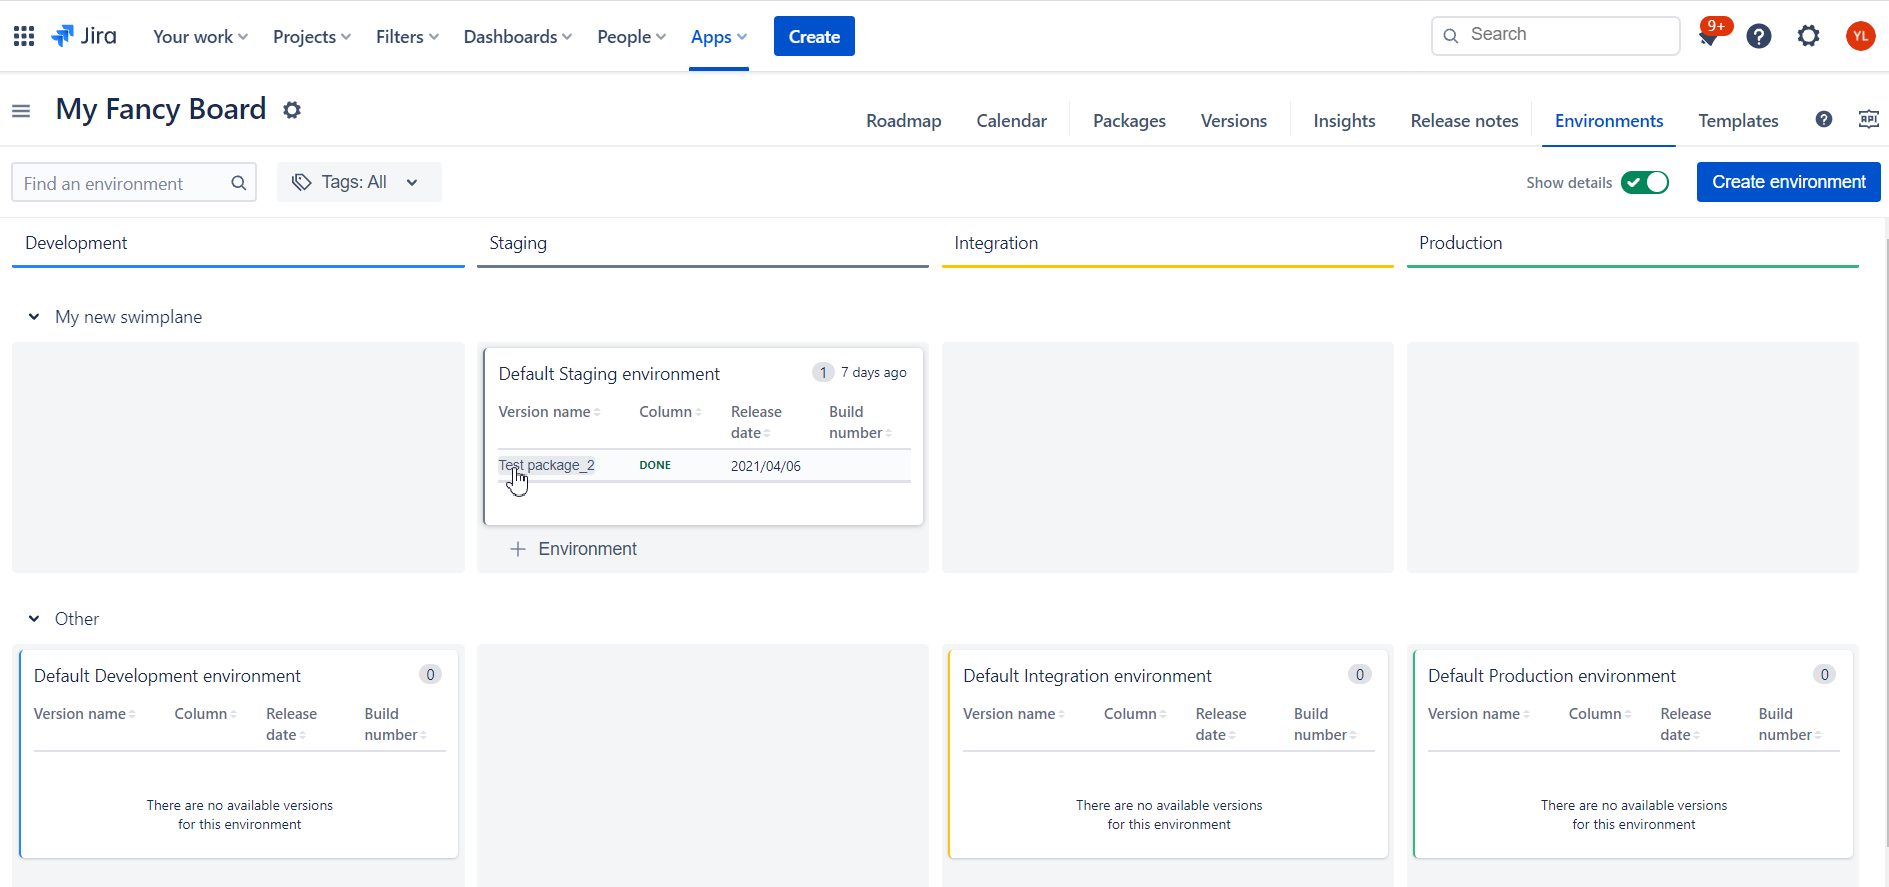
To Edit or Delete a swimlane put a mouse over it and controls will show up on the right.
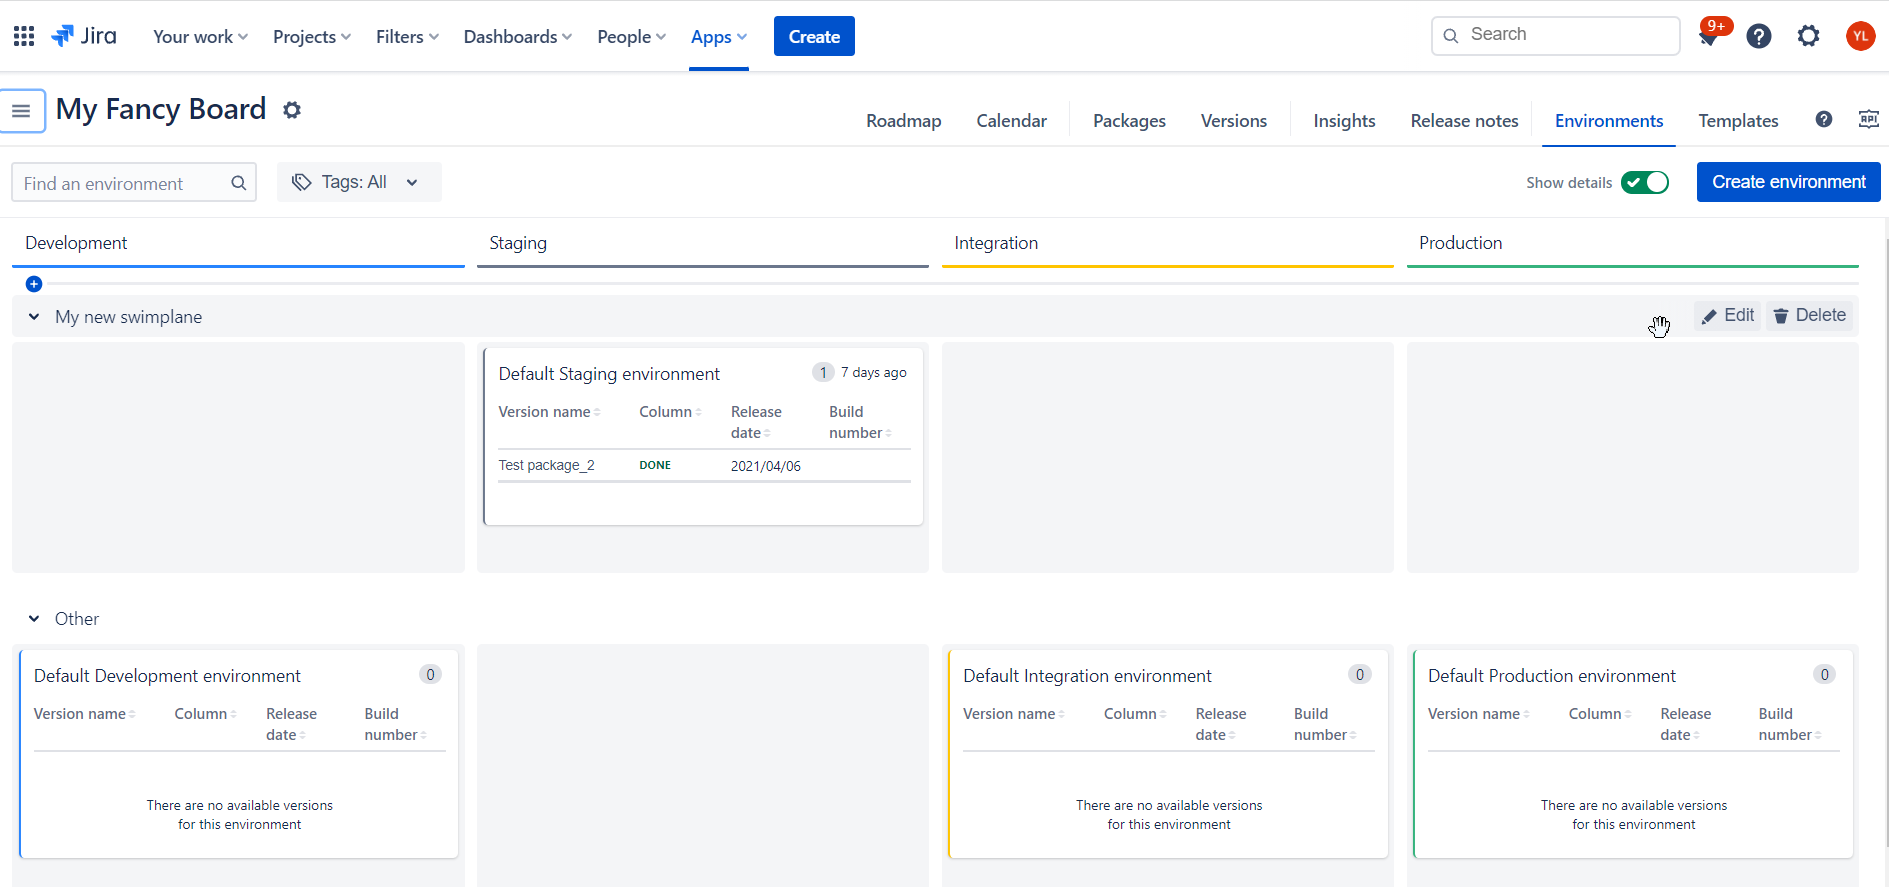
“Other“ swimlane cannot be altered.
Environments Gadget
In order to embed information about environments and versions deployed to them to Jira dashboards you can use “Environments” gadget from our gadgets collection.